
How to Transfer a Printed Image Onto a Candle
Hello! Another post today!
I usually- or not at all write about DIYS or anything else, but I found a DIY so cute and easy that I just had to post about it.
Things you’ll need:
- White Tissue Paper (It has to be white)
- Copy Paper
- Printer
- Blow Dryer
- Wax Paper
- Tape
- Pillar Candles
Directions:
1. Plan out the image that you want on your candle. Make sure that the image will fit on the surface of the candle.
 |
| I typed this image out using an app called Phonto |
Tape tissue paper onto your copy paper. Make sure to tape outside the area you're going to be printing on. In this case, I tape it all the way on the back. Make sure you tape the tissue smoothly it out as much as you possibly can. Remember that the paper is going into your printer to print.


4. Cut out the image after you're done printing it. Cut as close to the image as possible, but leave some space

5. Position your image on your candle and wrap the wax paper around it. Make sure the wax paper is perfectly smooth and flat on the candle.
 |
Place the image where you want it to go, then
wrap wax paper over it.
|
6. Start to blow dry the area where the image is placed. Blow dry until the image gets darker and the white from the tissue paper disappears. If it looks glossy, then you're doing the right thing so far. Be careful not to get it too hot because the wax will start to drip.
 |
| Make sure the candle looks glossy |
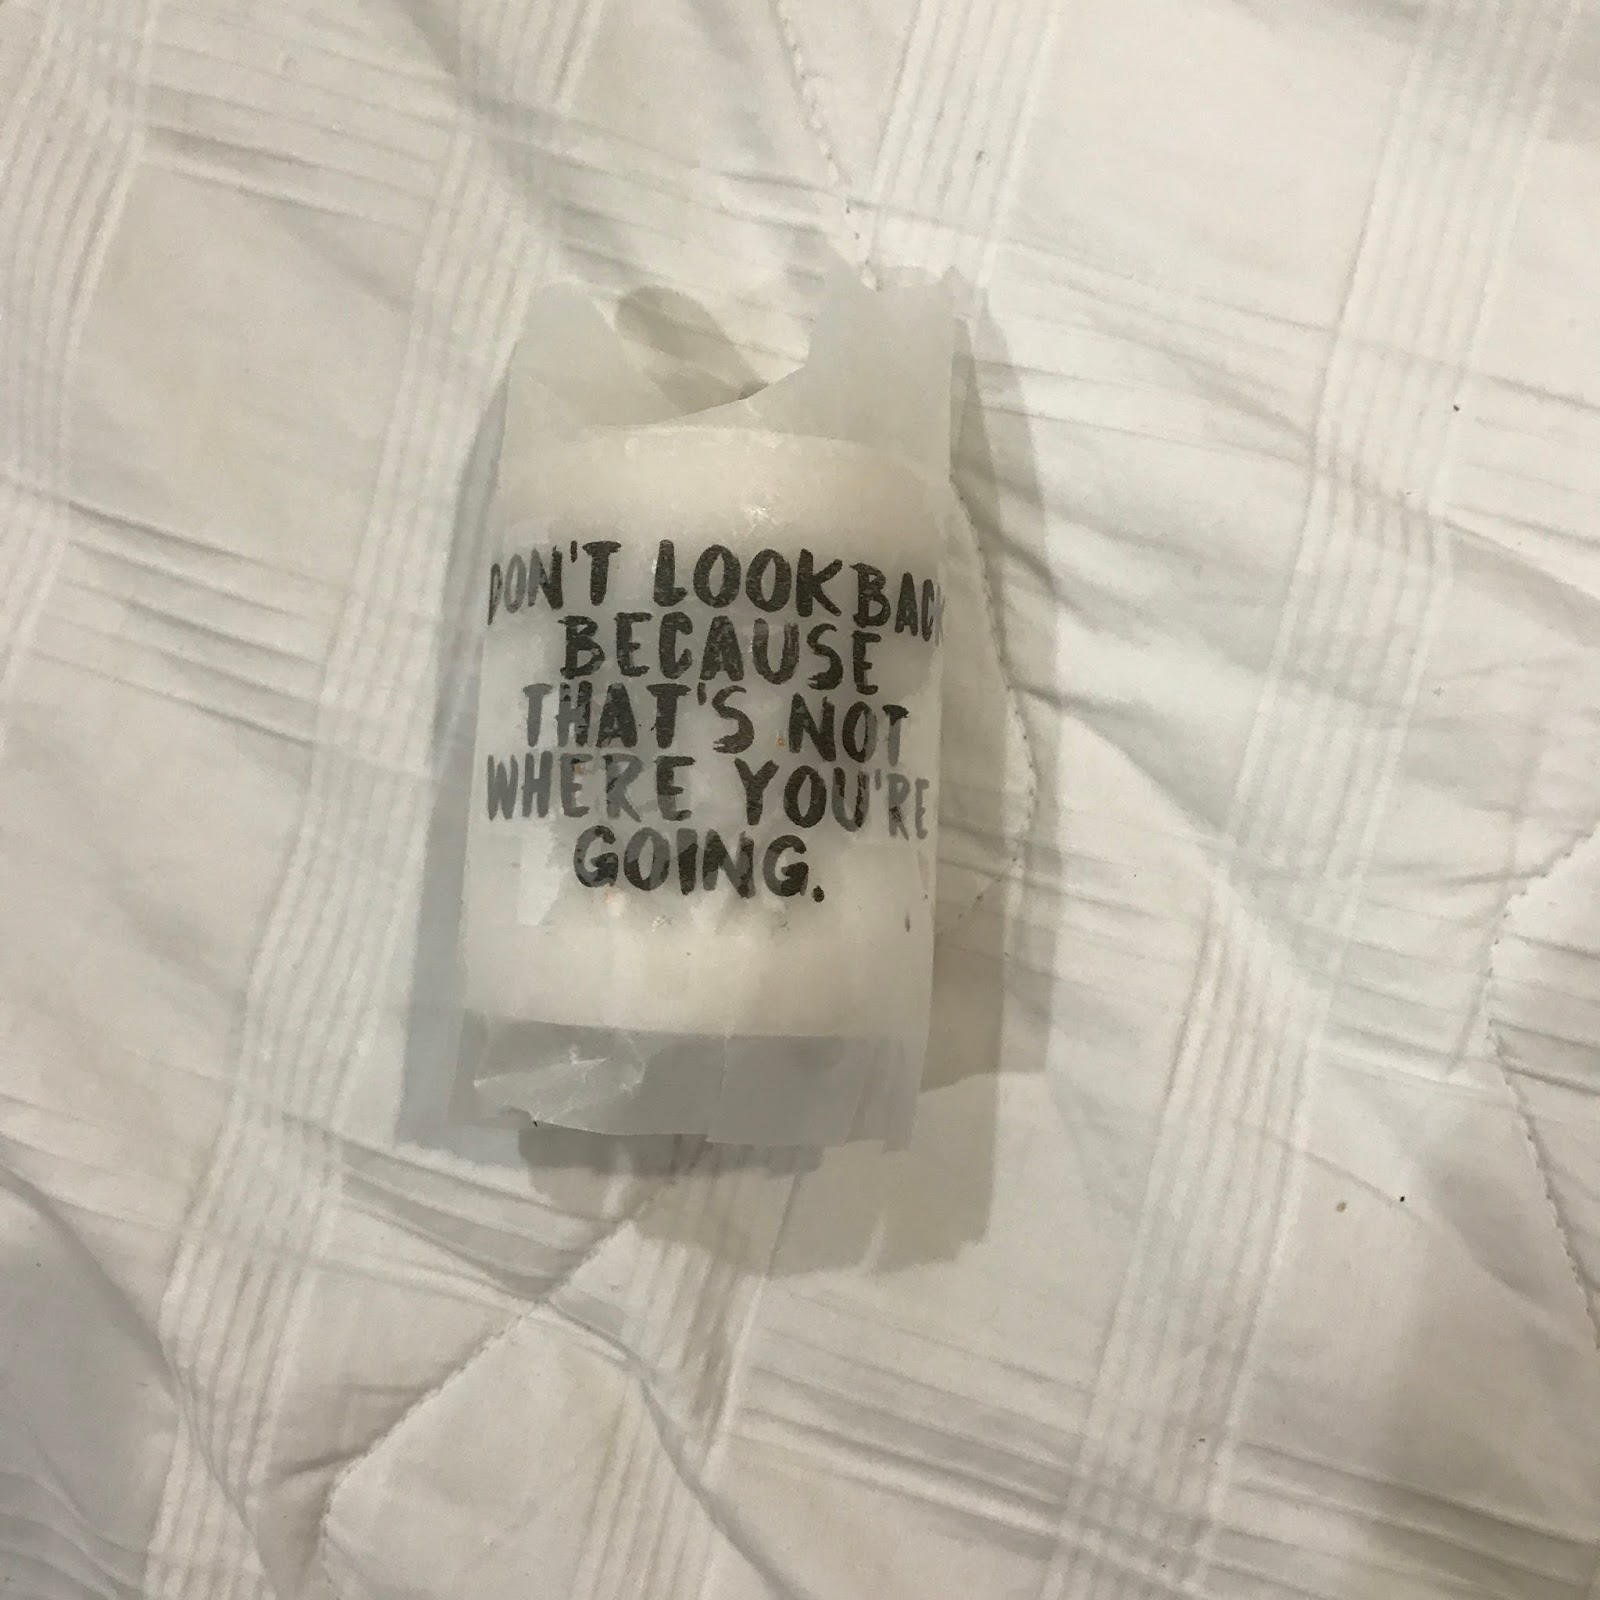 |
In this image, the candle is not fully done yet.
Some of the white from the tissue paper is still visible.
|
7. After you're sure you got the image pasted on, wait until the candle cools down. When the wax is hot, it will begin to drip so leave it in the wax paper until fully cooled down. Also, if peel too soon, then the image will peel off with it.

Well that's all for today! Until next time...
- Rhild Rhants

Comments
Post a Comment